
Before you judge this post, let me clear my standing here. I am not a LR or PS expert. I have only listed the things I do and helped me. I am open to learning and suggestions, so write anything that comes to your mind in comment.
It was 2013, when my former manager and photographer Adam Salsman got me into Adobe Lightroom. I was using Aperture, back then, and I did not want to spend 150 dollars right away, so I got a pirated (Free) version of LR from the internet. After rigorously using it for nearly 2 years, I bought an Adobe Creative Cloud membership, which is $9.99 a month, because I wanted to use Photoshop.
I still do 60% of my work at LR.
People get intimidated by the word Photoshop, as it’s huge, and its capability is enormous. If LR is a sedan, PS is a SUV, but I love its monstrous power. There is so much to do with PS, but if you’re just starting with photography, I strongly recommend you use Lightroom.
1. What is Lightroom?
It’s a photo-editing and managing software by Adobe. You can buy just LR for $149 from here.
2. Where do I get Lightroom?
I will not tell where you can find it for free, because that’s not legal. You can purchase it from the Adobe site, which costs $149.
3. What is LR?
It’s a short form of Lightroom.
4. Ok, I got it. Now what?
LR has the simplest setup guide. You can learn how to set up from here.
But I will explain a couple of things I have learnt from my own personal experience.
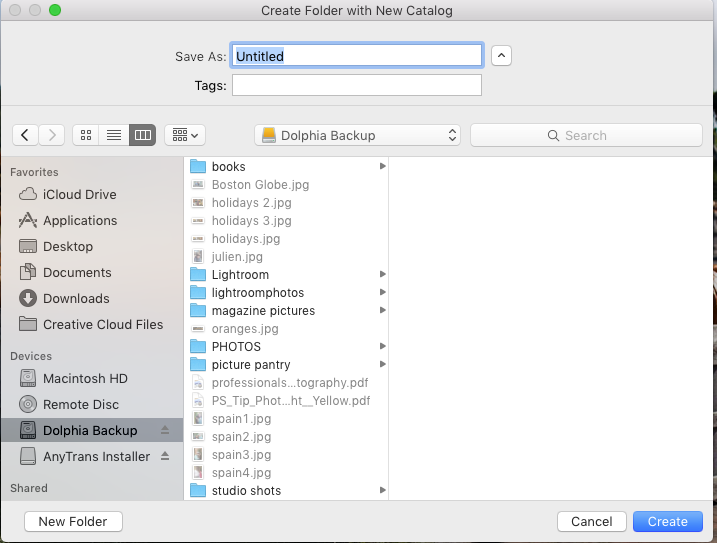
Unlike PS, LR works on catalog. It starts small, but it grows bigger and bigger the more photos you add. With every addition, your catalog gets bigger. When I started, I set the catalog in my laptop hard drive, but soon it ran out of memory. So I moved it to my external hard drive.
If you’re getting started with LR, I strongly recommend you purchase an external hard drive, which does not cost more than $100. Create a folder (I call it Lightroom Catalogs) in that hard drive and select that folder when you’re creating a catalog. But remember, your LR won’t work without this catalog, so every time you want to work in LR, you need to plugin this hard drive to your laptop.
This is how you can select where your catalog resides.
It sounds like a bit much, initially, but soon, you will get used to this. Many, like Adam, use Network Attached Storage to store the photos, LR catalog, which they can access wherever they are – I can go over them if you want to know more. For now, I won’t go into it that much. If you have more questions, ask me in the comment.
Wohoo!! You made until here. Let’s get the ball rolling, okay?
5. How do I transfer my photos from my camera to Lightroom?
Once you hit import here
you will be redirected to this
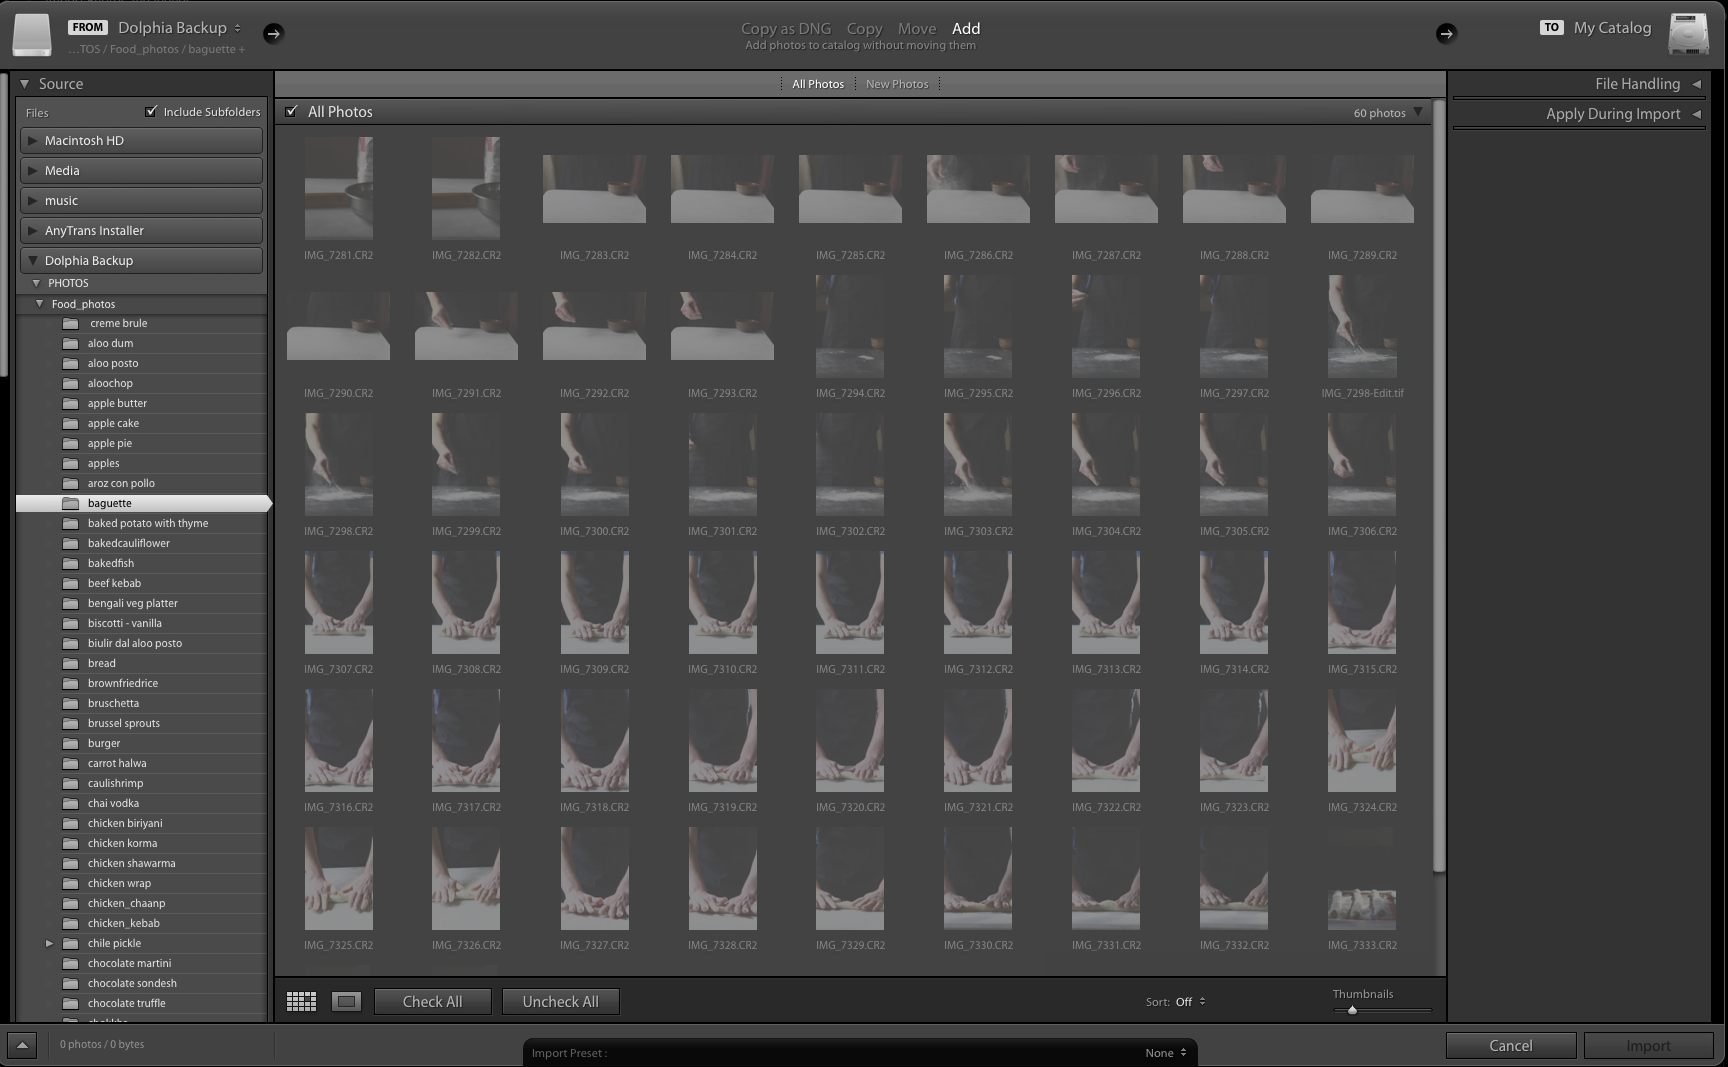
From the left, you can choose your source from where you want to import your pictures. Once you import the pictures, they won’t be reimported unless you delete them from the Library.
There are three ways you can import. You can see your device under the source.
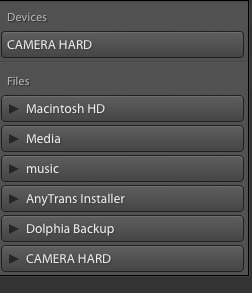
a. You can import directly from camera.
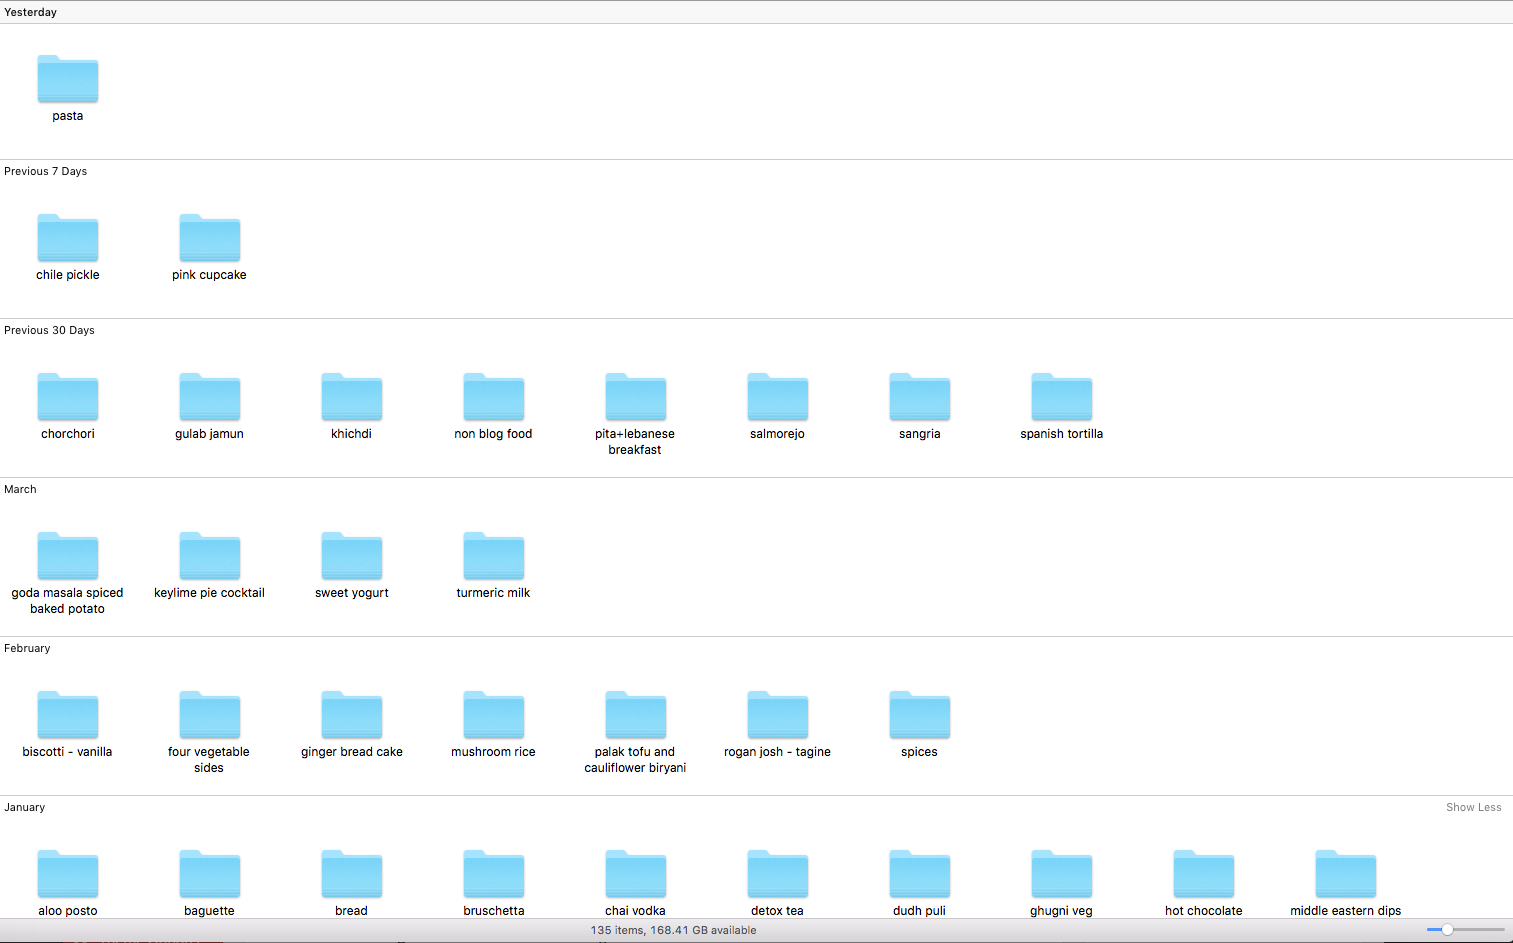
b. (Recommended) Create folders for each subject you’re shooting. No one is judging you, so you can give them whatever name you want. My folders look like this.
Once I create them, I copy the respective images from the camera card and paste them in the folders. {I am assuming you know how to plug the camera card into your laptop} After you’re done transferring your photos to their respective folders, you can “import” them in LR.
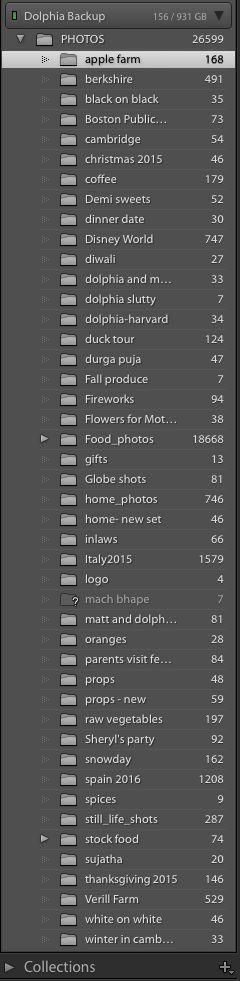
After you’ve imported them in Lightroom, they will look like the picture blow. You can select one folder, and it will show you the images in that folder.
 c. Tethered shooting:You can create folders in Lightroom and tether shoot them. I always tether shoot, but I still go with the second approach to make sure I have not missed any pictures.
I only know these 3 methods, if you know more – please enlighten me.
If you have come this far, please pat yourself on the back on my behalf. Get yourself a cup of tea, and let’s sail together.
6. What are these – Library, Develop, Map, Book, Slideshow, Print and Web?
So far, I have used Library, Develop, and Print, and I think that’s enough for beginners.
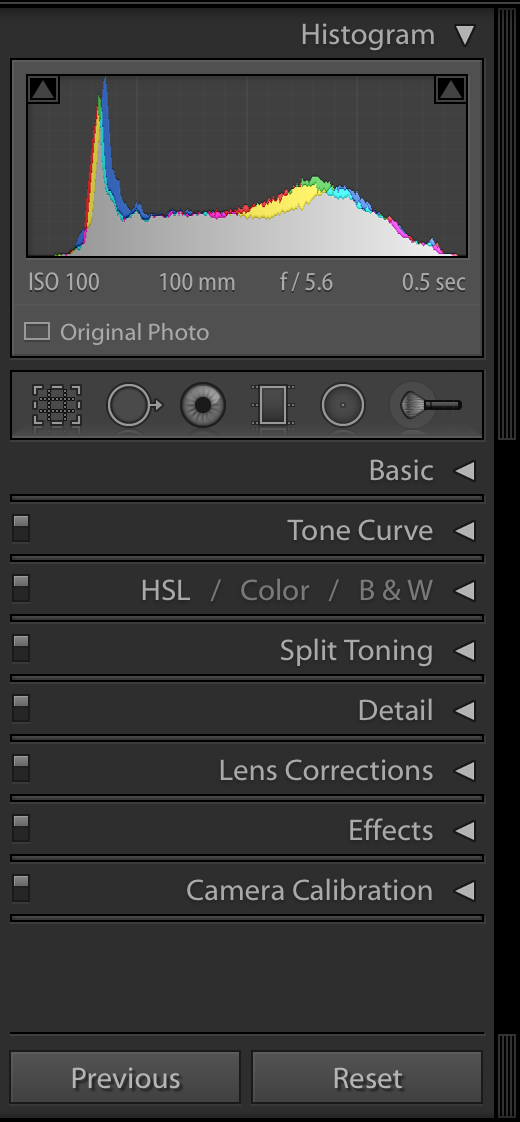
Library: It literally means your library of photos. You can add keywords and metadata here. It also has a quick develop, which helps you fix something quickly. I mostly use Grid and Loupe and compare the view of these below.
![]()
Develop: Here is where your development starts, and I have explained this below.
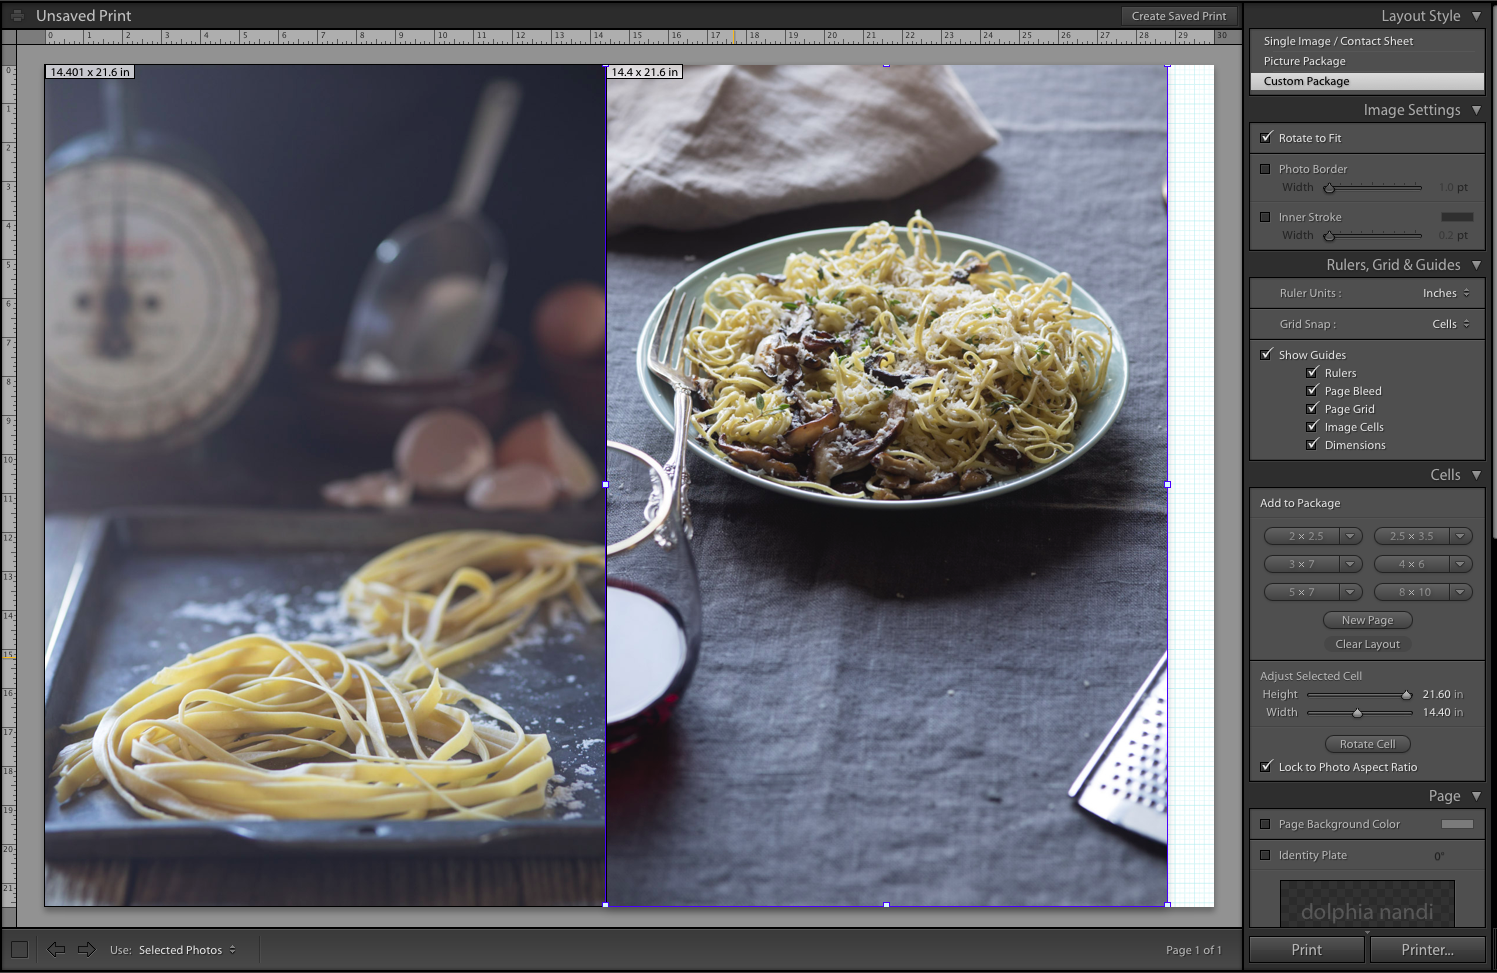
Print: You can make collages here. If you want to know more, please write, so I can include that in the next lessons. This is how it looks when I create collages. {Work in progress here}
7. How do I edit pictures?
This is the pivotal part and this is why you came here, right?
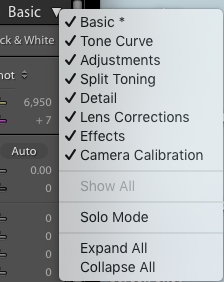
If you look at the right side of your editing pane, you will see these. I have only listed the ones I found useful. Before you edit, right click on basic to select the solo mode. It won’t open all the panels for you at once and only keep the one you’re working on at the moment.
B means Beginners, I means intermediate and A means advanced here.
Basic (B): When you’re just starting, stay with this tab at least for a week. Get familiar with this tab, until you know this tab like the back of your hand. All these are self-explanatory, and I recommend you play with any image to see what these tabs do. {Tell me, if you want to know more about these.}
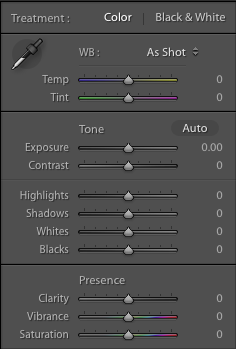
Tone Curve(I):
This is similar to what we use in PS. You can darken your shadows or lighten your highlights, based on what you want.
HSL/Color/B&W(A): To switch your photo to B & W, this is where you do it. It also helps me to pop up or down certain colors, based on my requirements.
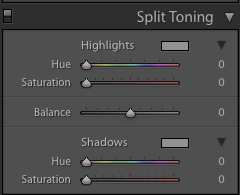
Split Toning(A): I have used this recently, after hearing from my friend Debadeep. It helps you to change the color of shadows and highlights.
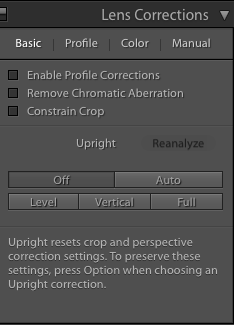
Lens Corrections(I): This comes in handy when your vacation photos or landscape pictures are crooked, because you shot them from a standard zoom lens. This tab is my savior . It also comes handy when I use a 50mm lens to shoot top-down food shots.
8. I learnt all these, I want to know more about these tools.
![]()
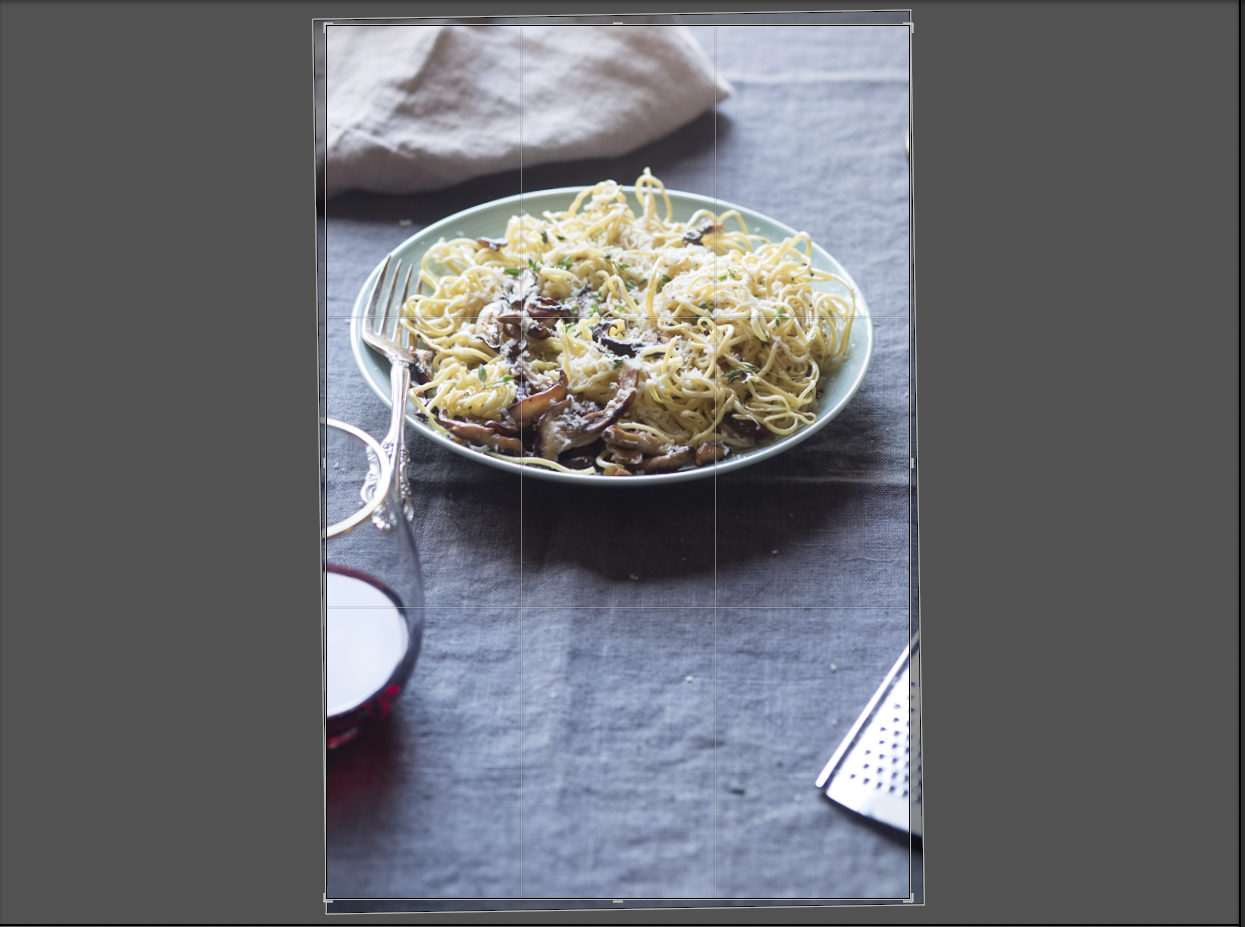
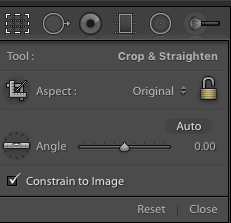
You need to use the Crop tool, which will help you to crop & straighten. As you can see in the picture below, the crop tool creates the grid for you, which helps you to determine which area to keep and which to discard. When you align, it creates a scale automatically, which helps you to straighten your image as much possible.
You can also select some preset values set here.
I use adjustment brush heavily, and that’s powerful. It helps me to achieve desired highlights and shadows in the places I want. There are also some built-in brushes there, like dodgen, lighten, and softening skin, which come in handy when you’re just starting.
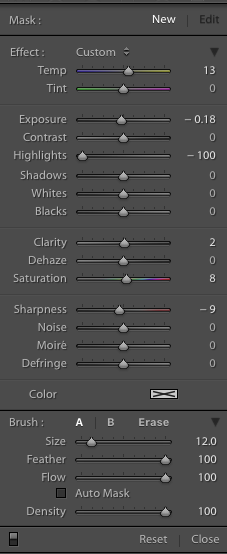
You can increase or decrease brush size by clicking this ‘[‘ and ‘]’ and it helps to choose the desired brush size when you’re editing. Also, you can erase certain areas if you need too. I zoom my pictures, while using this brush, as it helps me to achieve the details I want.
Press Cmd and ‘+’ to zoom in and Cmd and ‘-‘ to zoom out.
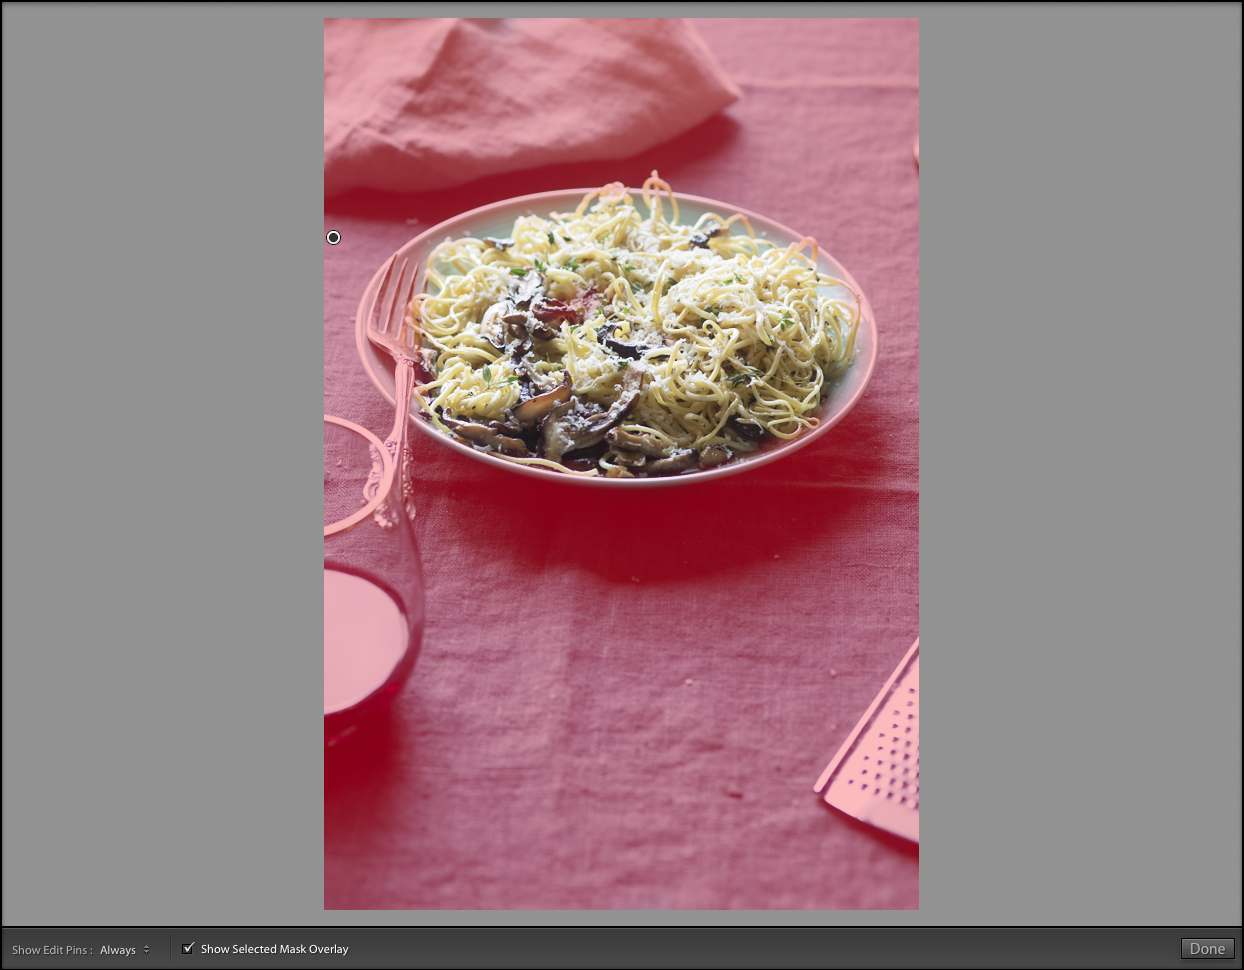
You can also use CMD+O to find out which areas have been masked. You can tick this box to find out about Mask Overlay. If you lose your edit pins, click this button to make that appear again.
![]()
This is how my photo looks after using mask overlay.
I also use Graduated filter for altering skies in my landscape pictures, but I have never used it for food pictures. If you want to know more, I will add that to the follow-up lessons.
9. How do I export?

This is what the entire export window looks like.
i) Export Location: This is where you export your photos. You can select your desired folder by clicking the choose option or by the arrow to the left of it.
I create one folder for each set of pictures, and I export edited photos to that folder. It helps me to stay organized. You can create one master folder and create subfolders or anything you want.
ii) File Naming: I use custom naming, because it helps me to write human readable names on my photos. Again, it’s up to you how you want your photos to be stored.
iii) File Settings: This is the file setting I use, and it has worked out so far for me.
iv) Image Sizing:You can choose the image size here. I never choose here. I resize it later using Apple’s built-in preview tool.
v) Sharpen:I change it based on which device I am printing on.
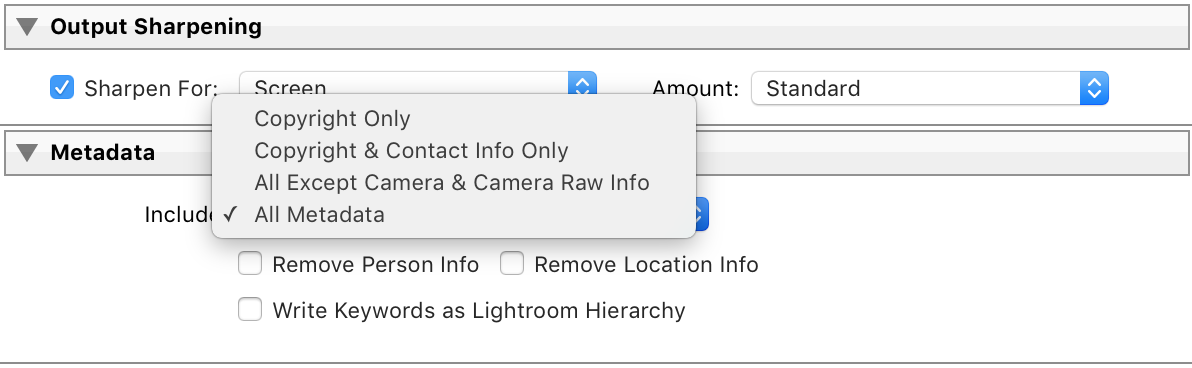
vi) Metadata: You can choose what information you want to come with the photos. Many big shot photographers only include copyright information, so it is up to you what information you want to give out.
vii) Watermarking: This is how and where you add text to your photo. There is no other way to add text in LR. You will need PS or Canva for that.
Briefly, these are the basics of LR. This should be enough to get you started with LR. I am open to more questions, and I will do some follow-up posts based on your questions. So please ask away if you want to know more about LR.
Some questions asked in Social Media:
Karthika: Gradient tool??? And resizing image – I am confused as to how to resize and export!
Ans: I have already covered resizing, and I will cover the gradient tool in my next post.
Charul: How do I add text in images in lightroom?
Also, effects in lightroom. You know the strokes, and blur effects that Photoshop like Gaussian blur? Those are the ones. And then how do you add a border in lightroom? Collages in lightroom?
Ans: Unfortunately, LR does not allow you to add text, without going through the watermark approach, where you can only add images in these certain places (See the picture below).

Lightroom has presets; it does not have effects.
But you can add blur, using adjustment brush. Just reduce the clarity to 0 or so.
You can use print mode to create collages. I will write about it in my next post. PS is for heavy lifting, not for such small things.
Meera: Do you use presets? Your own or downloaded? Any pointers on that?
I don’t use presets, but I am using the NIK collection and loving it. I want to be a versatile artist and each photo is different. In a post, you will find one picture has a dark, muted tone and the other has a rich vibrant tone. It depends on what makeup I want to give to my photos, which is why I use no presets.
But I am learning that, and who knows? Maybe one of my posts will be on on presets! 😉

Awesome post on LR Dolphia. I had a question on if it is possible to create folders within the catalog and you have answered that in the post. One other thing I wanted to ask was; say I take 50 photos and only deem 10 to be worthwhile, how do you go about deleting them from the folders? Thank you and I’m going to try and work my way around LR using your tutorial. Many thanks again 🙂
Pavani,
I am not doing the whole catalog and folder/file management very wisely. I am exploring that now and my next post will be covering that only.
I have not read the entire post but will comeback for future reference. Thanks for doing this post.
Pavani, Select the photos you want to remove from the folder, and delete. You will be asked if you want to remove it from the catalog or disk. I do not know if there is better way of doing it, but this is how I do it.
That sounds great Dolphia. Looking forward to your next post in this series. Thank you so much for taking time and doing this very useful series.