
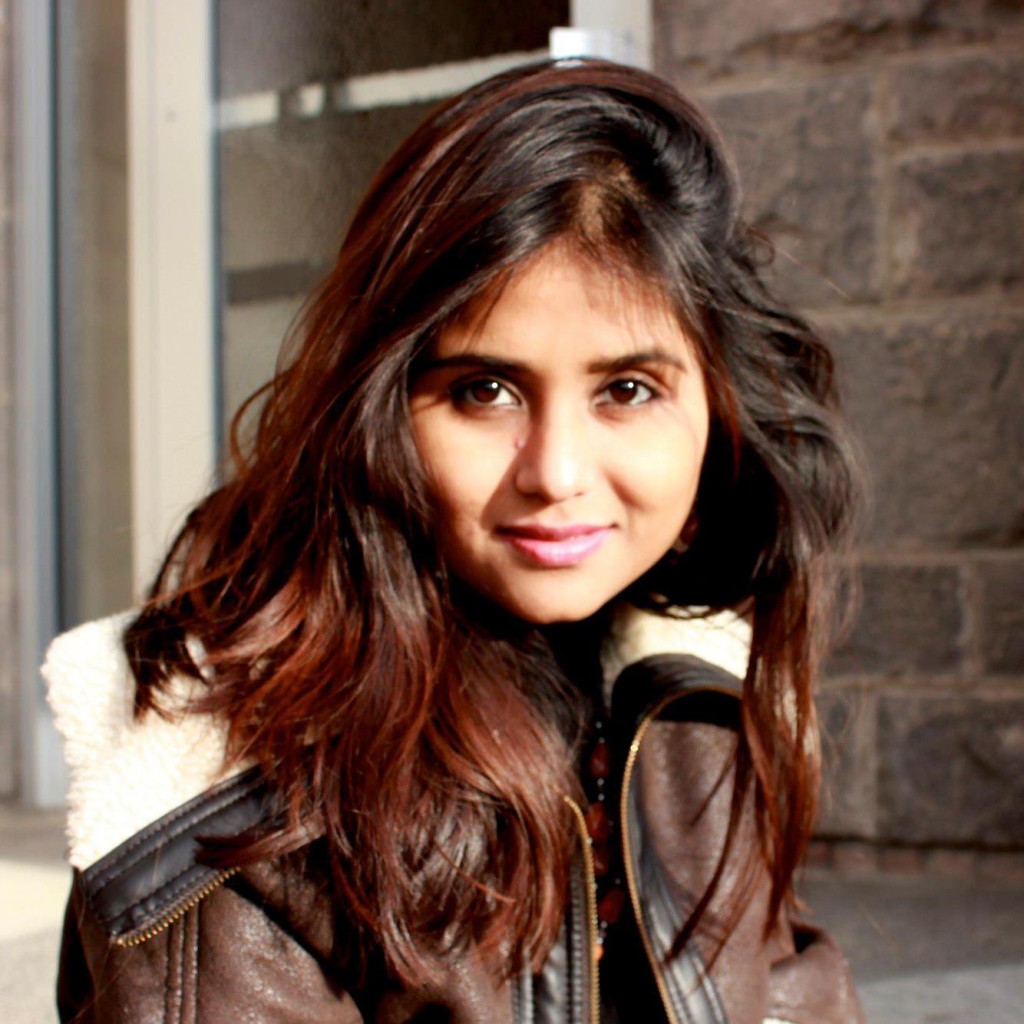
I am not a professional food photographer like many of you. I bought my camera in 2012, and it came with a kit lens 18-55mm. That same year I bought a 50mm 1.8 lens during Thanksgiving according to my cousin’s suggestion. I came to realize that the 50mm lens creates magic (It costs only $100, so you might think about investing in one). This is a photo of me from the 50 mm lens back in 2012 in Idaho Falls. My mom took this shot. I used to look beautiful back then 😉 )
A year passed and I purchased another lens–the Canon EF-S 55-250mm F4-5.6 IS STM–before going to NYC. I shot the empire state building with it. This is from that lens.
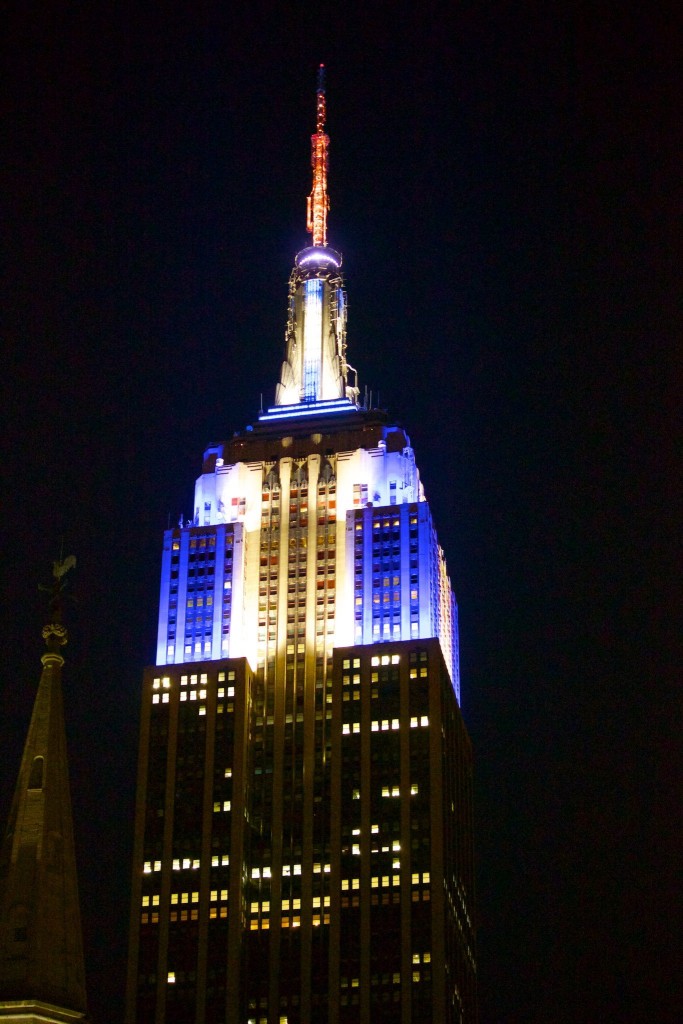
As I got more familiar with my craft I began to realize that I do not use the zoom lens often enough. More than half of the time it’s sitting in my camera bag. After few months I decided to sell that lens in Amazon.
Now here comes the most interesting part: How do I end up shooting food?
I always loved cooking and taking pictures of food. I used to put the pictures of the food I cooked in Facebook for my mom and friends. People used to ask me for recipes in personal messages. It was a tedious job to type a recipe every time. In 2014, after speaking with my husband and Mom, I decided to start my food blog storyofcooks.com. It started out mainly as a place to publish my mom’s recipe. Trust me, I had no idea that I would be so hooked on food photography. The days I do not shoot I get grumpy [editor’s note: my wife is grumpy on all days ;)].
When I started the blog we were extremely busy with the condo renovating. I did not get a chance to cook or take photos. When we got settled in our new home I started taking blogging seriously. At that time my food photos were substandard compared to other food bloggers. Around August of 2014 I asked Nusrat Suborna of ‘myself Nusrat’ how I could improve. She got me into two food photography groups from where I came to know about Simi, Deeba, and Bart. I used to post whatever photo I clicked that week, and they kept helping me with their critical comments. To this day if I try something new I show them, and they always help me.
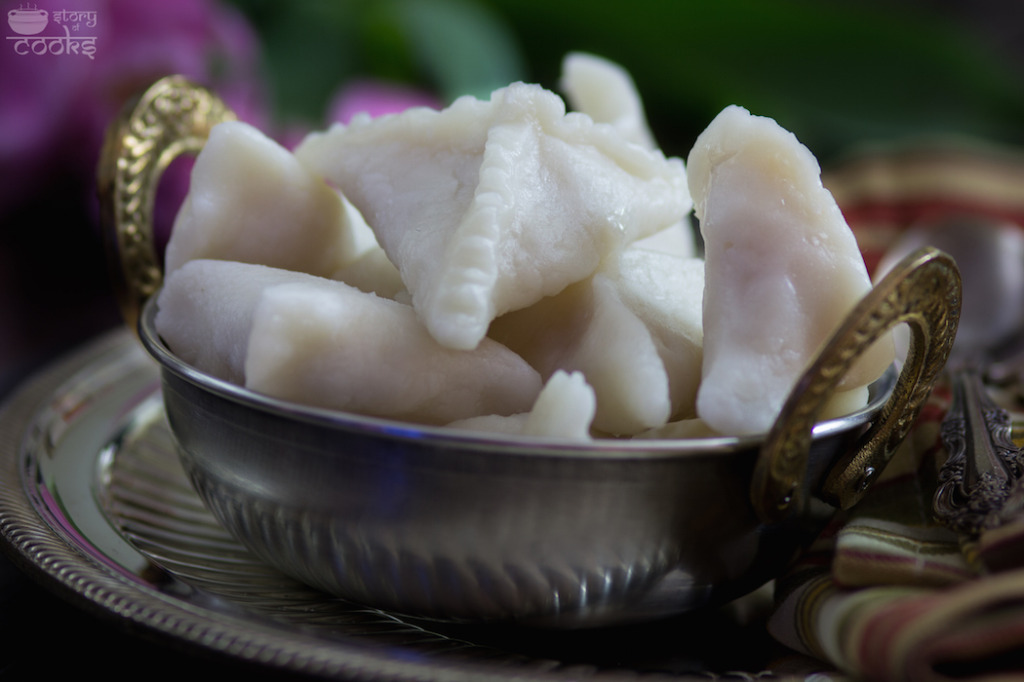
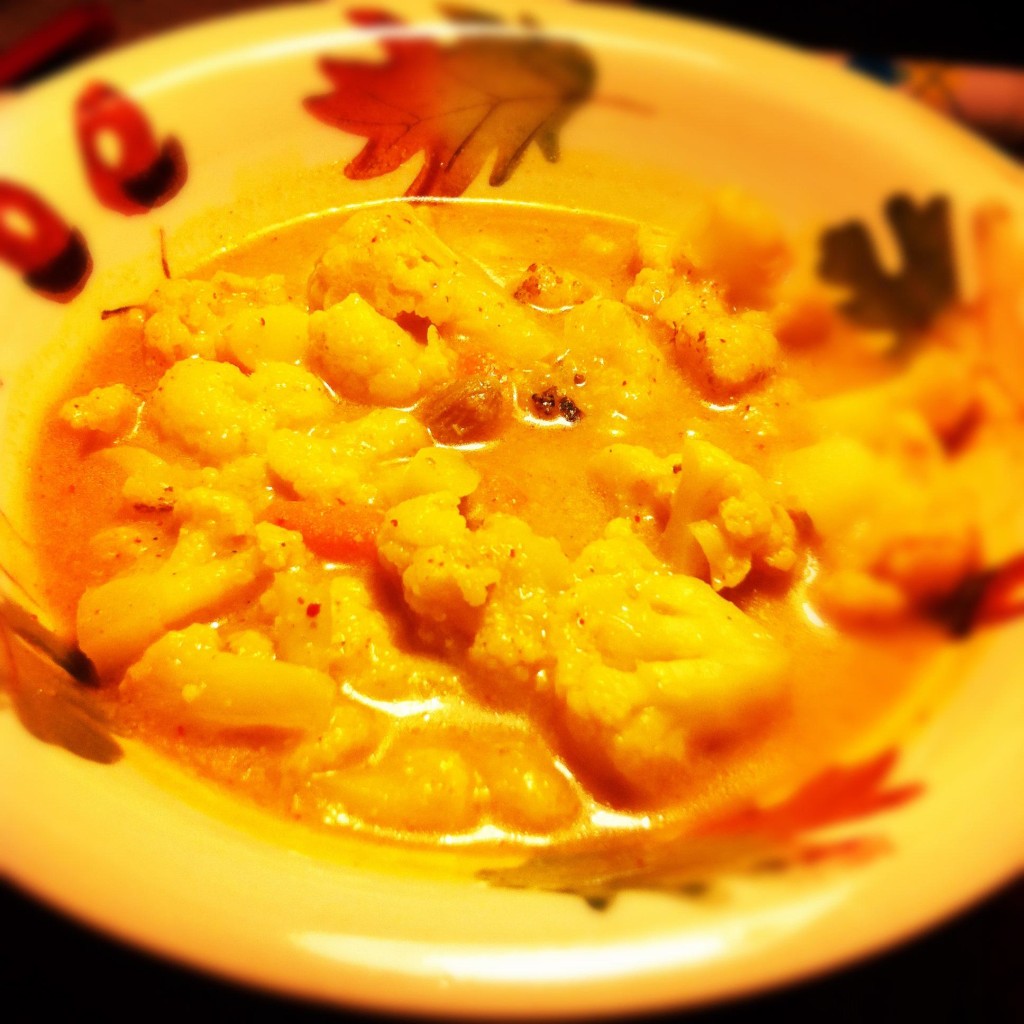
This was my picture circa Aug, 2014.
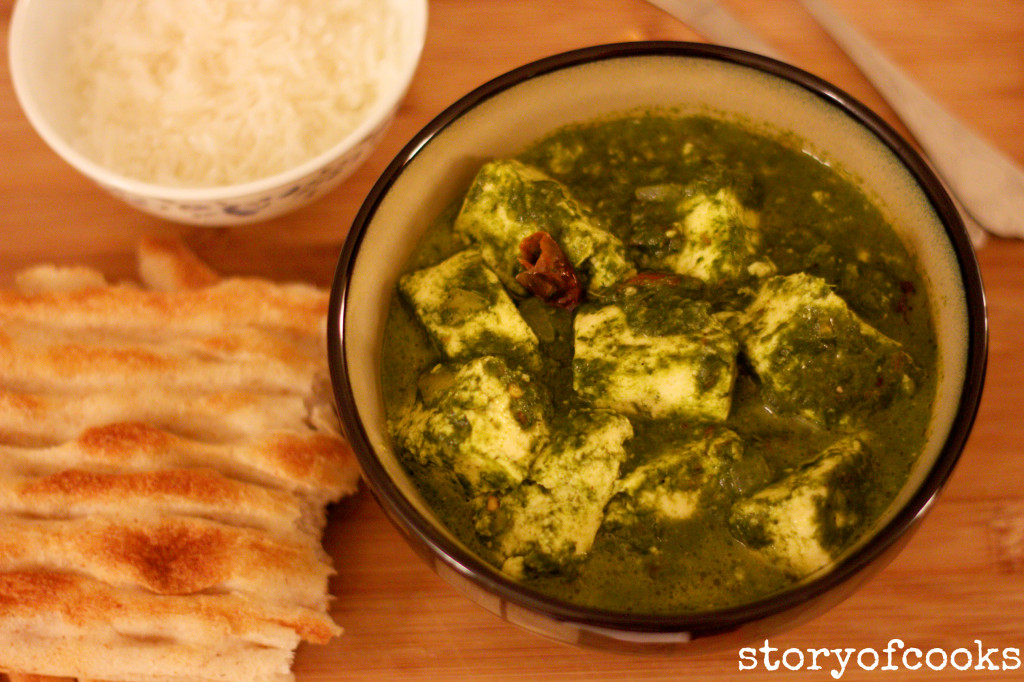
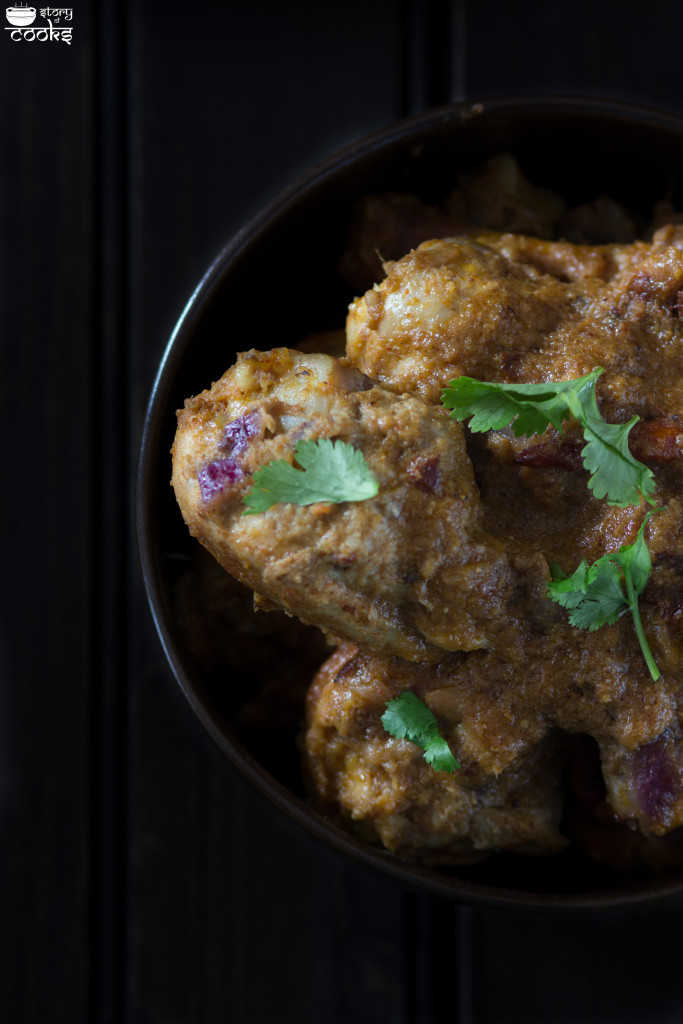
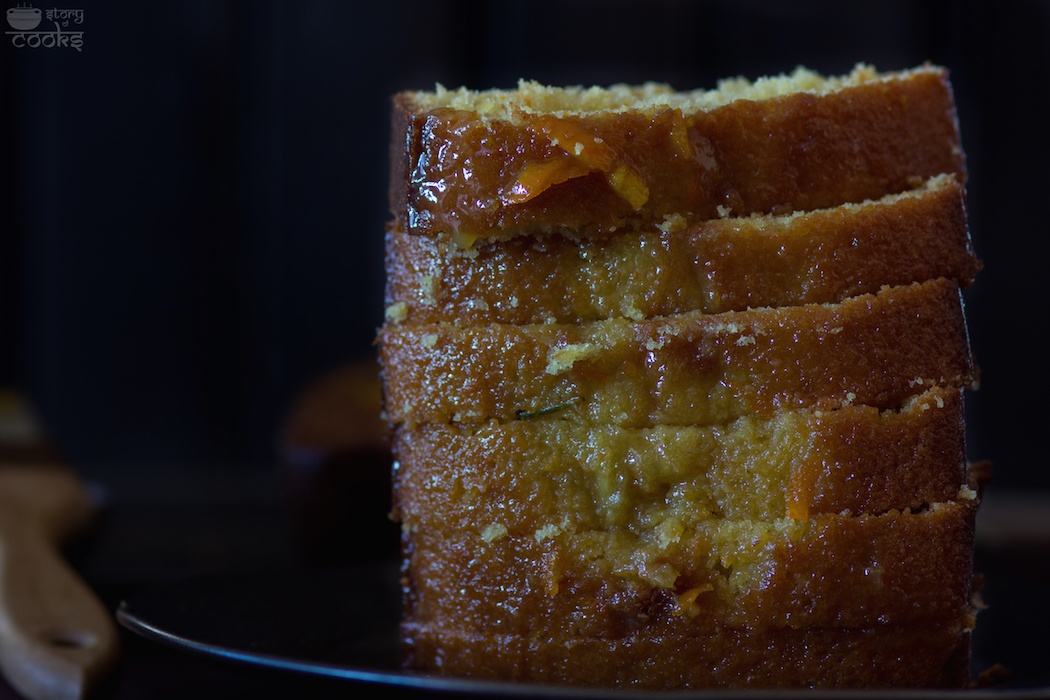
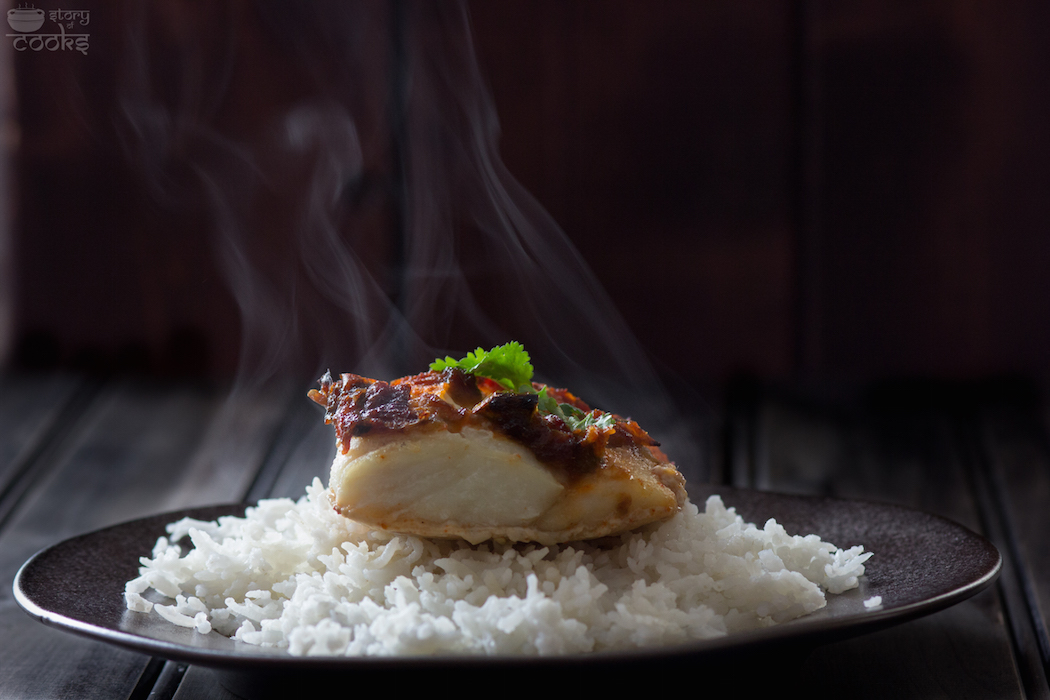
This is a recent photo.
So my suggestion to newbies – ask questions, get criticized and learn more!
When I was continuously shooting, I decided to purchase a few books on photography. One was Tony Northup’s book, another was on Lightroom post processing. Tony’s book not only taught me a lot but also opened the door to his secret group. His group is in Facebook, but you can’t join without buying the book. They helped me a lot with composition, white-balance, ISO and aperture! They are professional photographers and have been shooting for more than the number of years I’ve been alive.
I did not get a chance to go to Rob Grimm’s school or attend Andrew Scrivani’s workshop. They are a little too expensive for me, but I am saving money and will go one day. There are a couple of things I learned the hard way, and I want to share them with you.
1. Try to shoot in manual mode. If you have a DSLR and shoot in auto mode, then what is the purpose of having a professional grade camera? It would be better to use your point-and-shoot camera. At least you will save some money.
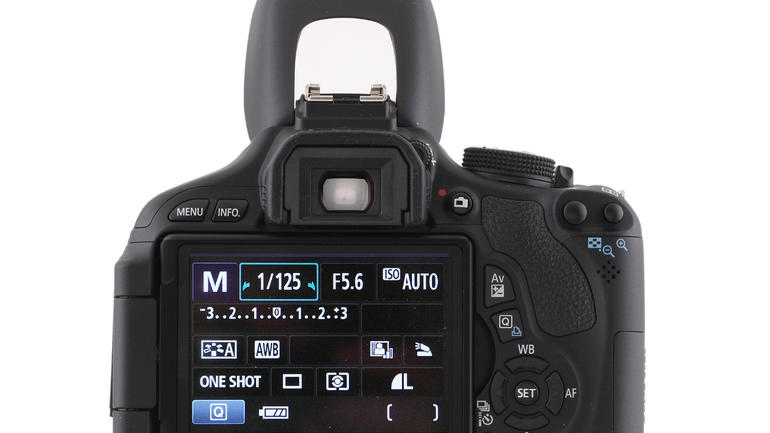
2. Learn the relationship between aperture and shutter speed. Keep this image handy all of the time –

3. Always shoot in RAW mode because it captures more information about the picture than jpeg. When you do post processing it helps to play more with shadow and depth.
4. Use a tripod if you are shooting inside the home. When I started taking pictures of food with my shaky hand, my husband suggested that I get a tripod. I got a very cheap one (about $10 in Amazon). If there is one thing I cannot live without anymore it is my tripod. The only time I do not carry a tripod is if I am shooting in a snowstorm. I currently have a Manfrotto tripod and plan to buy a better one for travel. (FYI: We took that tripod to India when we were visiting last year so you can understand how dependent I am on that thing)
5. Use manual focus. First I focus with the view finder and then I use the zoom button to see if my food is in focus. Here is a tutorial on using the back button focus.
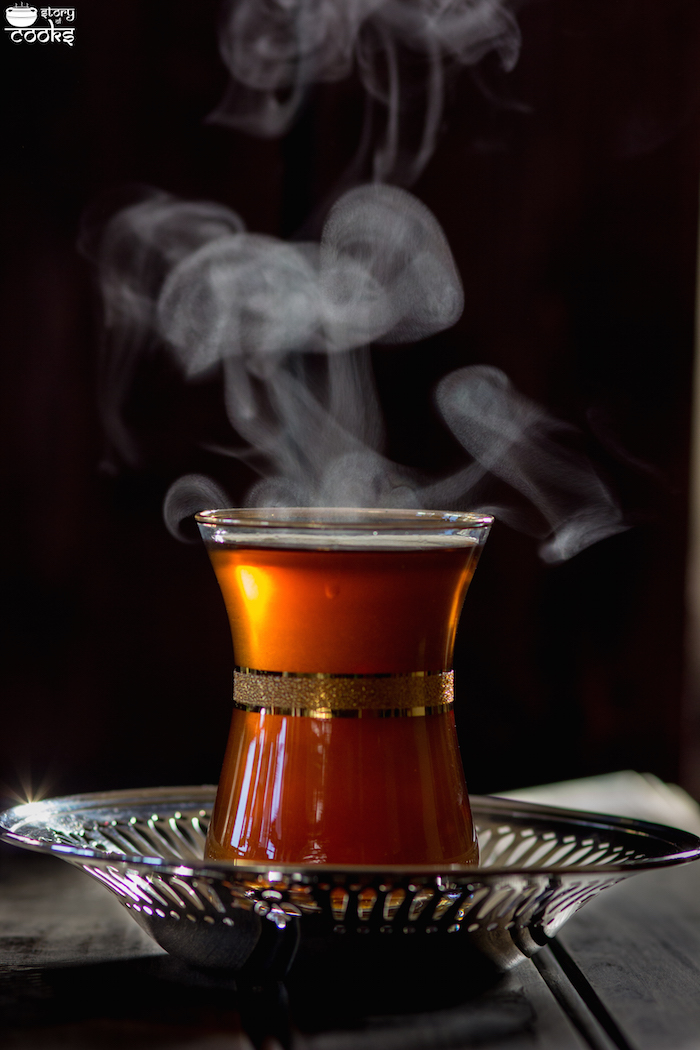
6. Shoot in natural light as much as you I can. I live in Boston where getting sunlight is harder than getting a pearl from an oyster. I have studio lights to survive the winter season. This is a shot with artificial light and was published in The Boston Globe. I have this inexpensive kind of lights from Amazon.
7. Where do I find new ideas? I browse day, night or whenever I get a chance on Pinterest and Instagram. If I like something, I sometimes send a note to the photographer. 🙂 It feels good when they reply. Do not worry about getting inspired by other people.
8. You do not need to buy an expensive lens to shoot a photo. I started my journey with an 18-55mm and a 50mm prime lens. Later I earned myself a 100mm prime and a 50mm 1.4 lens. It’s known that a good lens takes greater pictures, but first learn about composition, ISO and aperture before investing in an expensive lens.
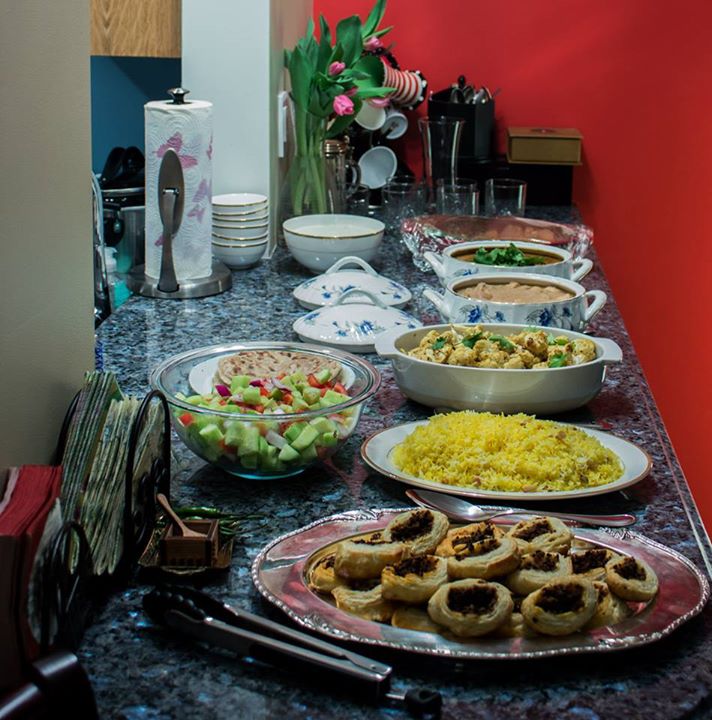
9. “Less is more”. Do not overcrowd your pictures. When a photographer captures a decorative item (e.g.: jewelry, home goods) with food pictures, I always wonder what he/she is trying to portray? Next time, before you over decorate your photos, think twice about what you can remove from the set.
Look at this picture which I found on Instagram. Isn’t it beautiful?
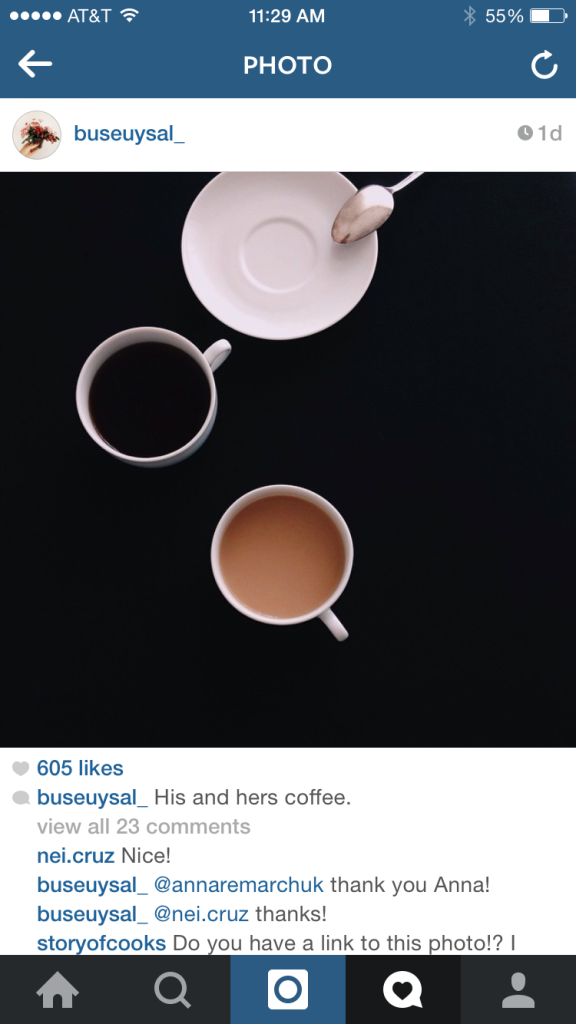
Why? Because it’s simple!
10. Always leave some negative space in your picture. Do not fill it with words or text unless you are using it for a magazine. Negative space gets the audience to think more.

11. White balance – Learn how to adjust your white balance. I have seen many “yellow” food picture in my life (No I am not talking about you or me, I am talking about some famous bloggers). There is a gray card which you can buy from Amazon. You can find the link below.
Here is a video tutorial from youtube which might help you set your white balance.
This is a shot before and after adjusting the white balance!
Before :
After:
12. Post processing is very important. I use Lightroom to post process my photos. It takes a while to learn. I read the book (listed below) which helped a lot!
13. Last but not the least, keep shooting. Do not worry, do not get scared. Just pick up your camera and shoot. Ask people to comment on your picture. Believe me, you can not improve if you are too shy or afraid to make a mistake. As my dad says, “practice makes perfect.”
When you see Rob Grimm’s photo your jaw will drop but you did not see the photos when he was learning!
Like you, I am learning every day. As I said in the beginning, I am not a pro. I am a beginner and this is my journey.
Books, Gears and Idols:
1. The Adobe Photoshop Lightroom 4 Book for Digital Photographers (Voices That Matter)
2. Tony Northrup’s DSLR Book: How to Create Stunning Digital Photography
3. Manfrotto MKCOMPACTACN-BK Compact Action Tripod (Black)
4. LimoStudio-Photography Photo Portrait Studio 600W Day Light Umbrella Continuous Lighting Kit
5. Canon EF 50mm f/1.8 II Camera Lens
6. Rob Grimm
8. Grey Card – DGK Color Tools Optek Premium Reference White Balance Card Set- 3 Card Set- 3 Card Digital Color Correction Tool
9. Food photography book – Plate to pixel.
Dolphia.
I missed this post and don’t know how I did. Your recent food photos are
very professional and I can see a huge difference from when you started and
have since bought additional equipment. The changes are so dramatic! Actually,
your food photos are dramatic, the only way I can describe them. I love the ones with the dark/black backgrounds and how it emphasizes the detail of the dishes
and the food that jump right out. Wow !
Such a nice write up ! I bet this is going to help lot of those interested in Photography .
Thanks Sujatha
Hi!Dolphia,
The above piece of information is something that I had been looking ..like forever.There are so many questions that comes to my mind but when I look for answers in the web world they sound like physics lessons & complicated!When I tried asking people who are good at it they make it sound real easy!
Cant thank you enough of your step by step tutorial & the generosity with which you have mentioned the tricks of the trade.
I love cooking & take pics too but I am a newbie & really wanted to learn & get criticized.I too land up with yellow pics.
It would be really helpful if you can help me out so that I too can take pictures like you do…
To start with in case if I have any queries will you be kind enough to address them or criticize my pics.I feel am going through the same phase that you have written about yourself .Hence could relate.
Also how do you create the dark or black background?
Thanking you loads in advance….
Sanchari